Account Settings – Managing Your Personal Information
In this part of the tutorial, we'll show you how to easily manage and update your personal data. Whether your address has changed, you have a new phone number, or you just want to update your last name, you're in control. We'll walk through each field together so you know exactly what it's for and how to fill it out correctly.
Last updated 9 months ago
Understanding the Difference Between Profile and Account
The terms "Account" and "Profile" are often used interchangeably, but in this context, they refer to two different areas.
Account Settings
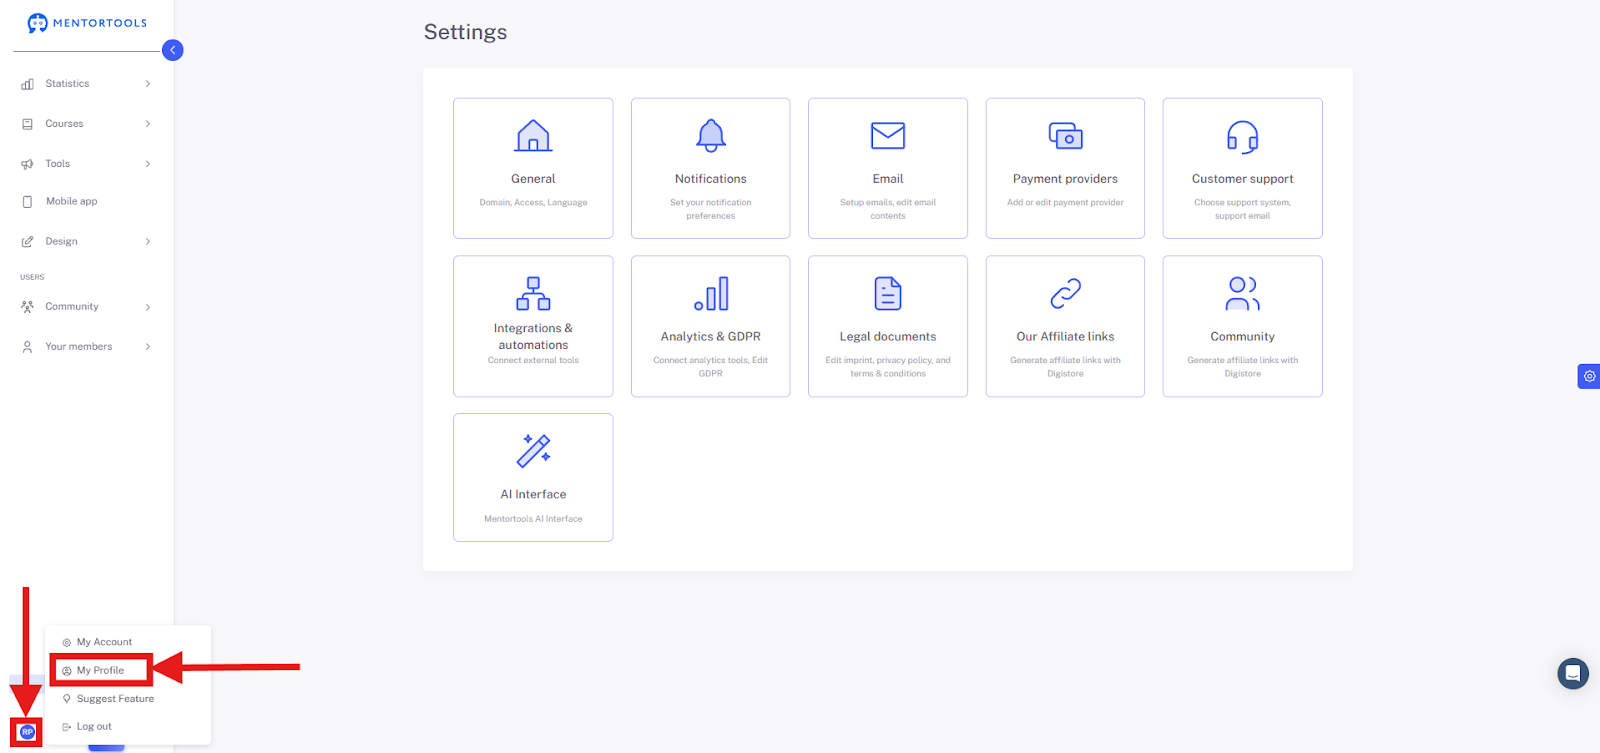
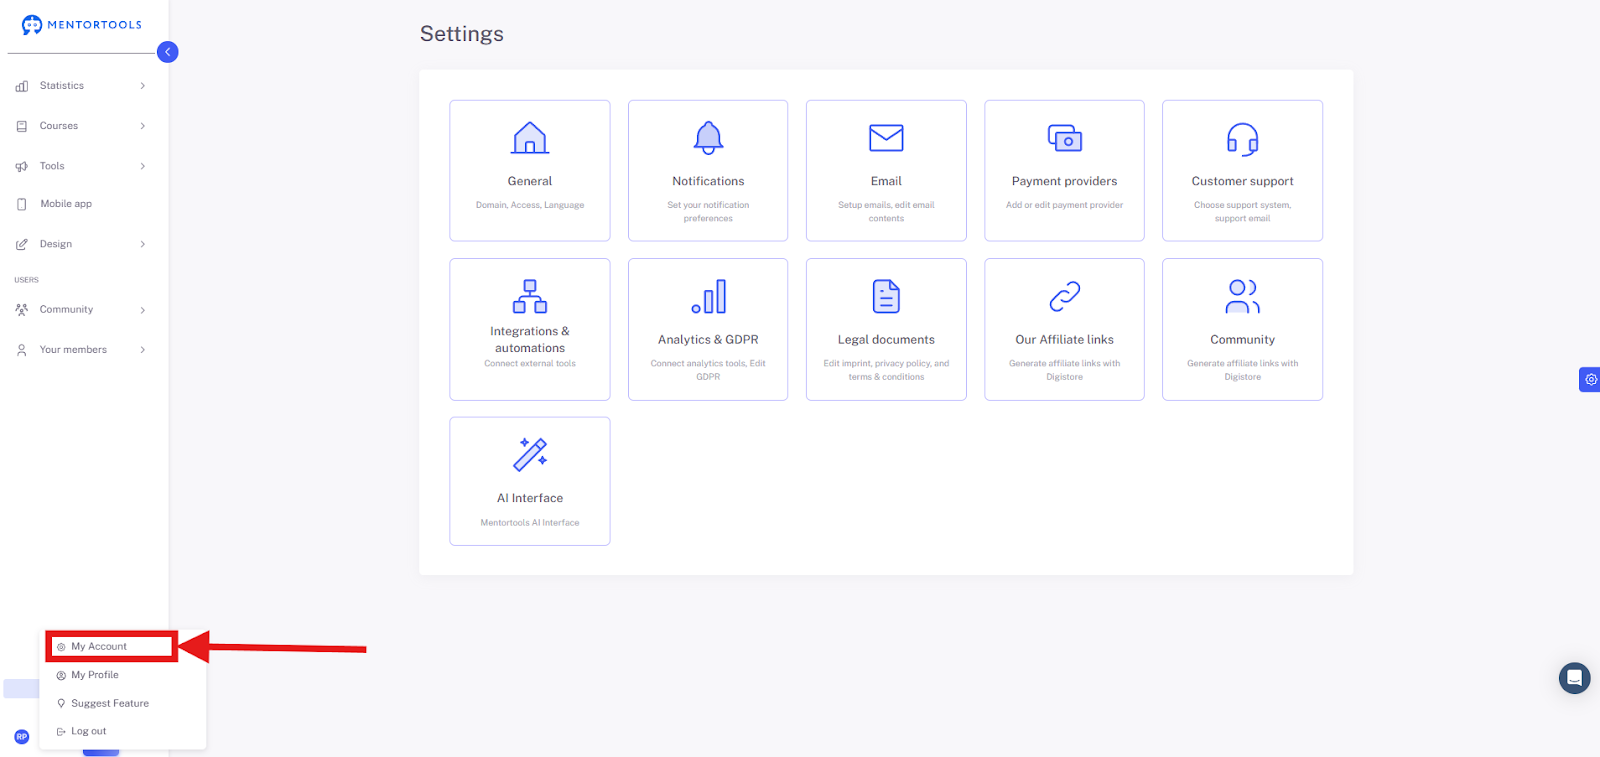
Your Account Settings are the administrative part of your account. This is where your basic and confidential data are stored—information that is important for managing your account but not necessarily visible to the public. To access your Account Settings, first click on your picture in the bottom left corner, then select "My Account" .

This includes:
Name and Address: Your personal master data for invoices or official communication.
Date of Birth: Important for age verification.
Email Address: Your primary login email, which you can't change yourself. If you need to change your email address, please write to support@mentortools.com.
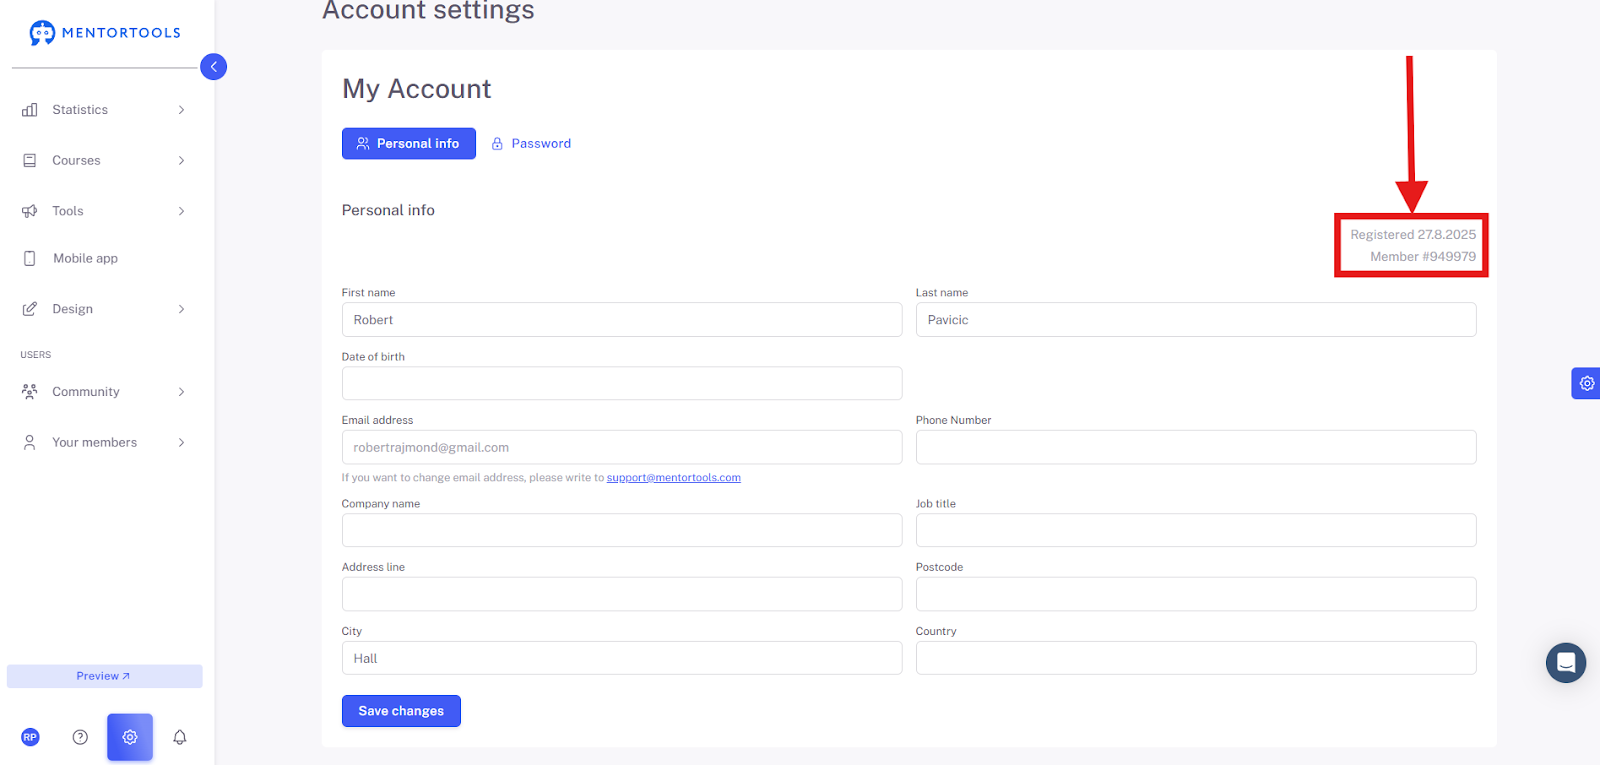
Registration Date and Member Number: Internal information for identifying your account.
In short, your Account Settings are your "back office"—where you manage the essential, mostly private information needed for the smooth operation of your account. Here you can find a tutorial on profile settings.
Profile Settings
Your Profile Settings are for presenting yourself personally. This is where you manage the information that is visible to other users. Think of it as your "business card" within the platform. To access your Profile Settings, click on your picture in the bottom left corner, then select "My Profile".
This includes:
Profile Picture: The image other users see.
"About Me" Text: A short description about you, your interests, or your role.
Public Contact Details: Email, phone number, city, and country, whose visibility you can control yourself.
In short, your Profile is the public side of your account—where you decide how you present yourself and what information you want to share with the community. You can find a tutorial on Profile Settings here.
How to Access Your Personal Information?
1 .Go to your picture in the bottom left corner.
Click the button at the bottom left to access your account.
2. Select "My Account"
Account Settings Overview
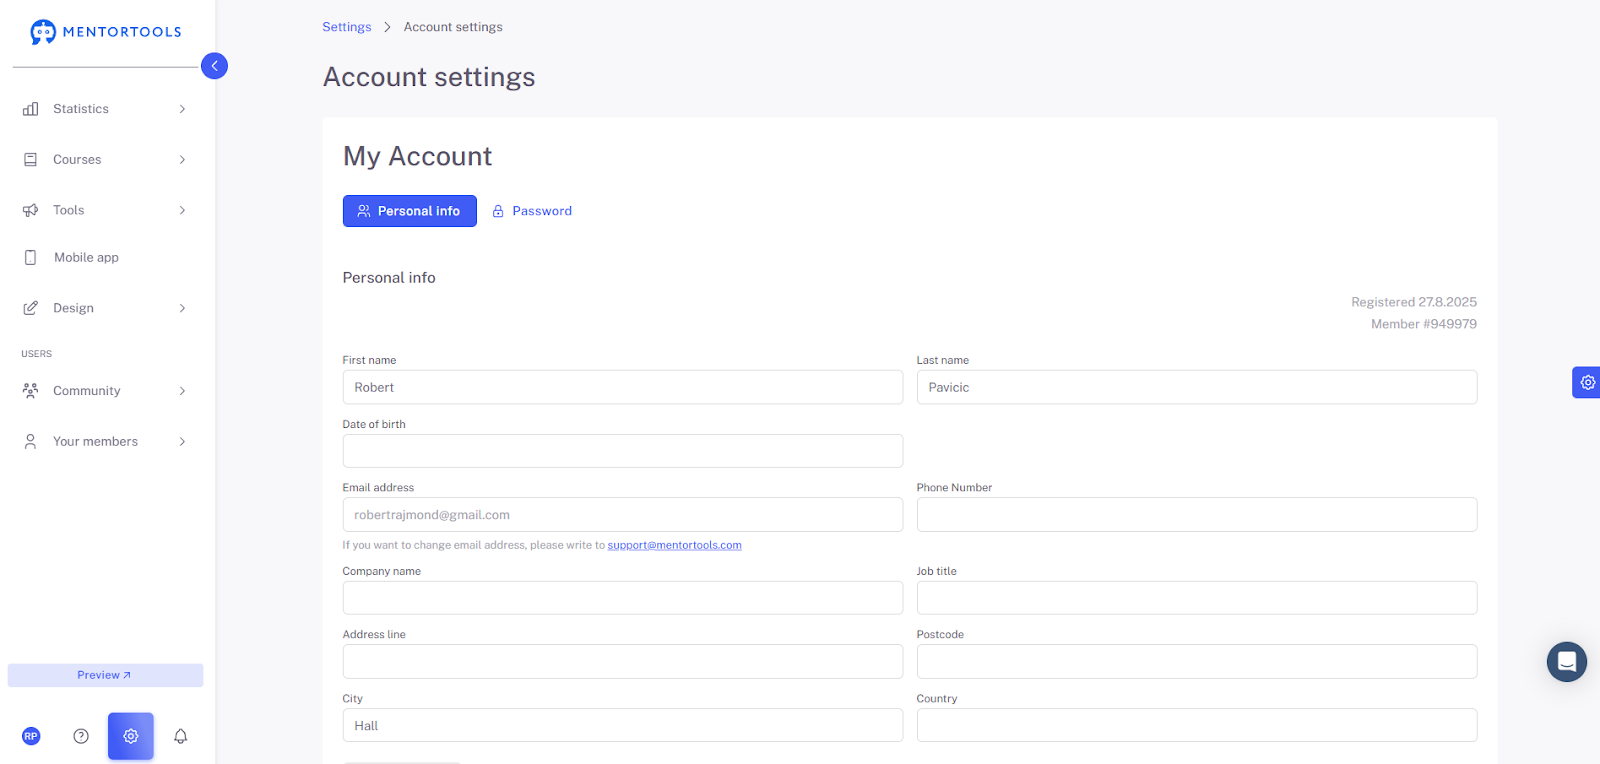
Here you will see your personal account data. Let's go through the fields one by one:
First Name and Last Name: This is where your first and last name are stored, which are important for addressing you correctly.
Date of Birth: You can enter your date of birth here. This is often needed for age verification.
Email Address: This is the email address you used to sign up. If you need to change it, simply click the link to contact support.
Phone Number: If you want to add a phone number, you can do so here.
Company Name: If your account is linked to a company, the company name will be listed here.
Job Title: You can enter your job title here, which is often useful for completing your profile.
Street, Postal Code, City, and Country: Here you can enter your full address, which is important for things like invoices or shipping.
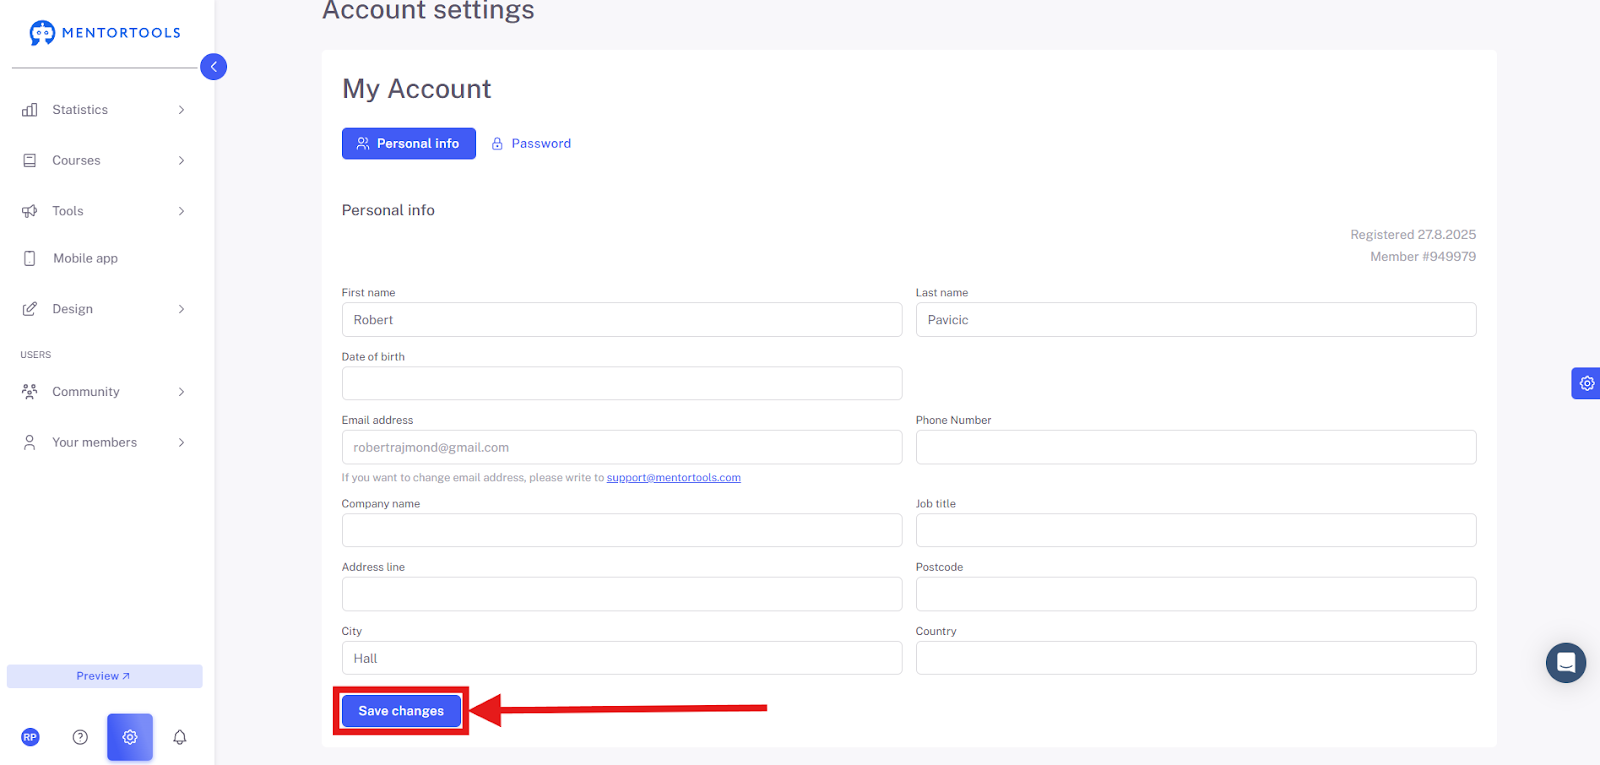
Save Changes: If you've made any changes, click this button to save the new information.
In the top right corner, you can also see your registration date and member number. This number helps identify you in the system if you contact support.
Summary
You have now learned how to find and edit your personal data in the Account Settings. It's quite simple: from your profile, you can access your Account Settings, where you can adjust important information like your name, date of birth, phone number, and address. Just remember that you can't change your email address yourself—you'll need to contact support for that. After you've made your changes, click "Save" to keep your data up to date. This way, you always have full control over your profile!