Support Tools
Effective customer support is the heart of any successful online academy. It builds trust and ensures that your participants are not left on their own when questions arise. In this guide, we'll show you how to integrate external support tools into your member area or use Mentortools' built-in support tool—including a preview of the contact form. This way, you can offer your users a seamless way to get in touch with you while also strengthening the quality of your offering.
Last updated 9 months ago
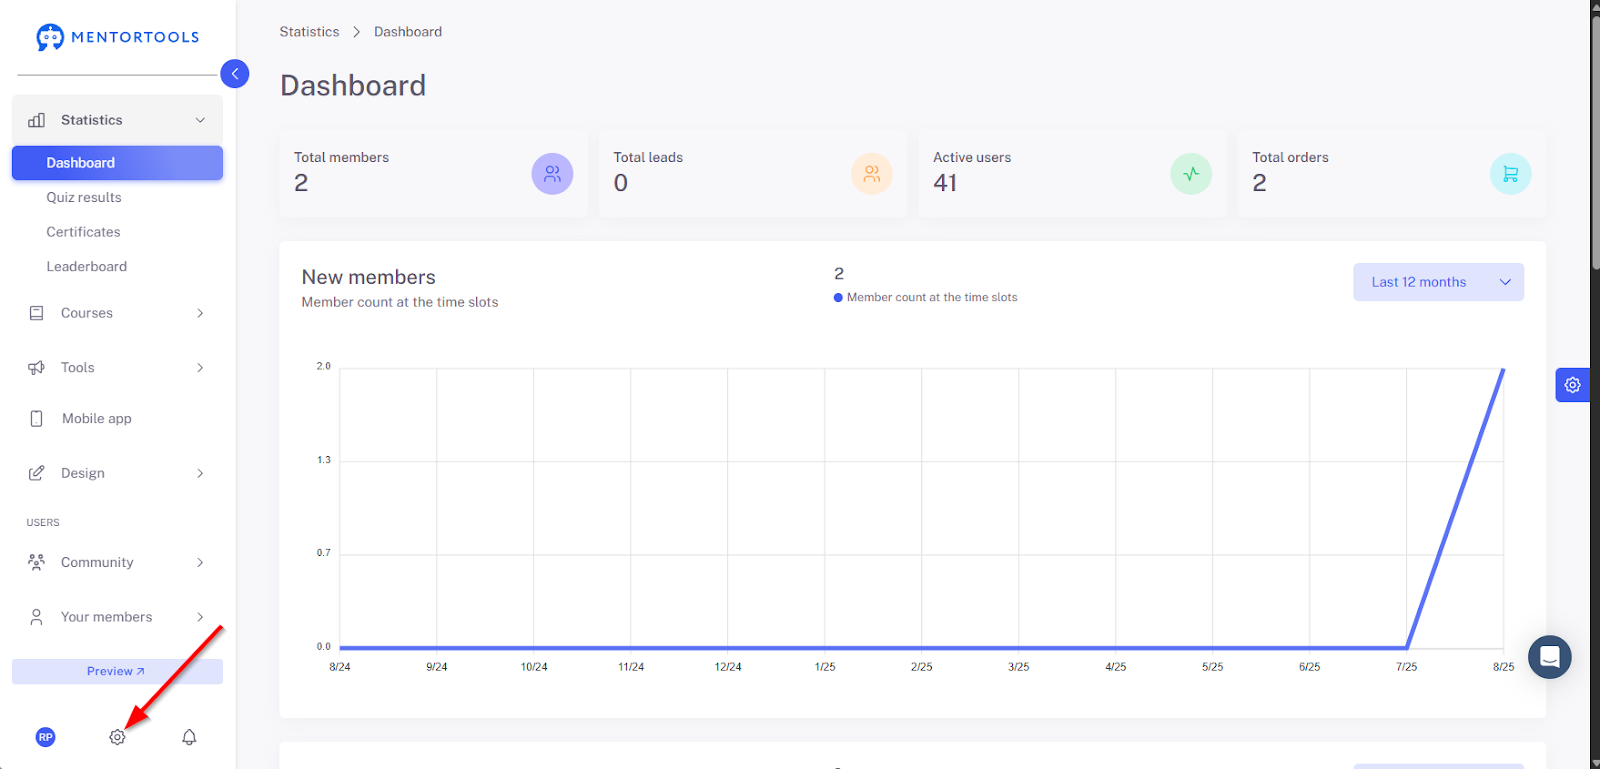
1. Open Settings
Click the gear icon in the lower-left menu bar.
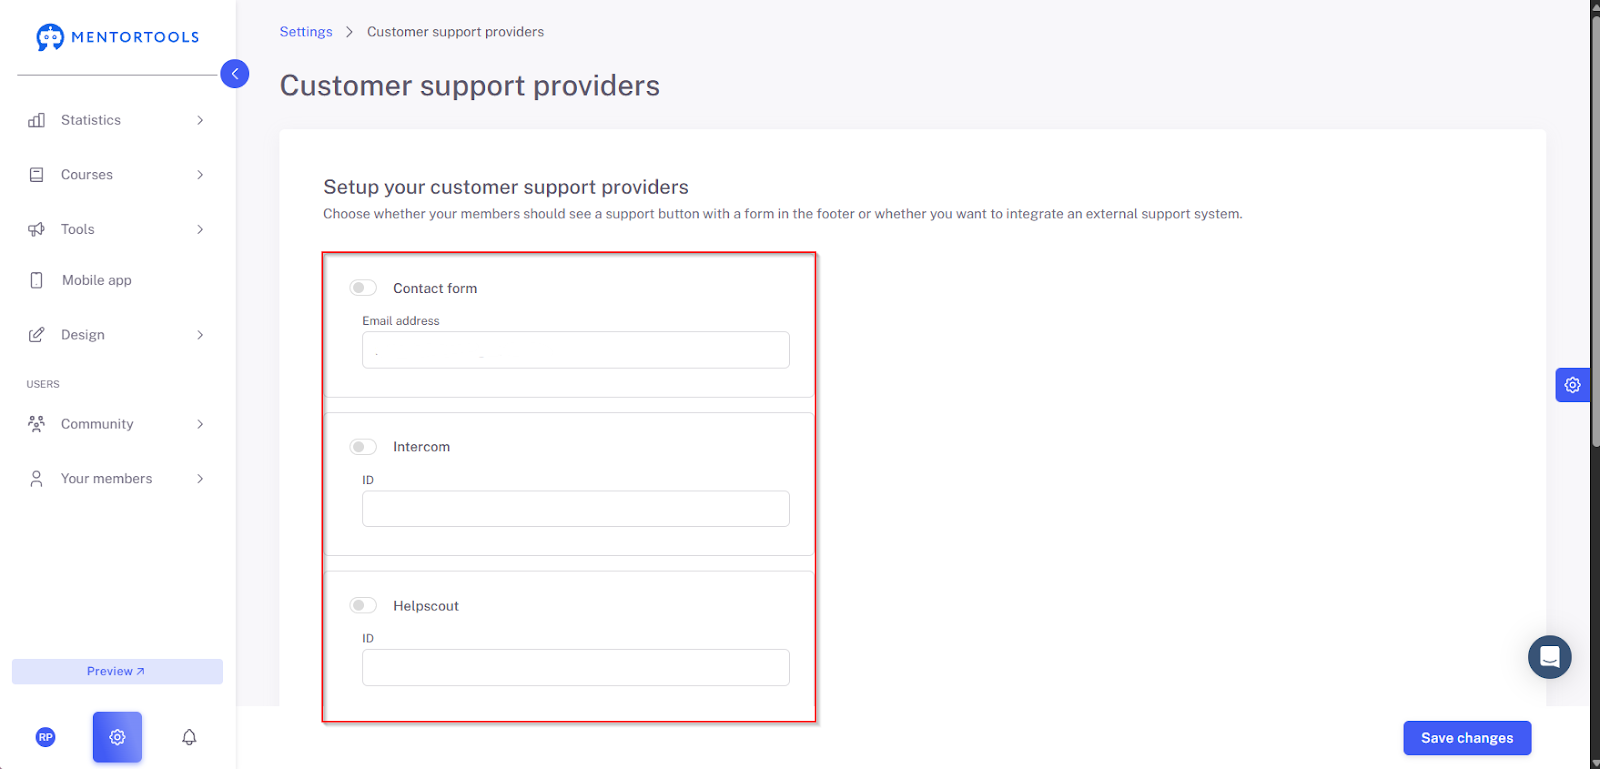
2. Navigate to Customer Support
In the menu, click on "Customer Support" to access the configuration.

3. Activate the Contact Form
Select the desired options to offer your customer support. You can use a contact form or external services like Help Scout, Intercom, Freshdesk, HubSpot, or Membership.io.
Note: For the contact form, an email address must be provided. For third-party services, you need to enter the corresponding ID/widget ID that you received from the provider.
To change the widget ID or email address, first activate the service, then right-click on the input field and use the "Paste" option to insert the ID or email address after you have copied it.
4. Save Changes
Save the changes by clicking on "Save Changes."

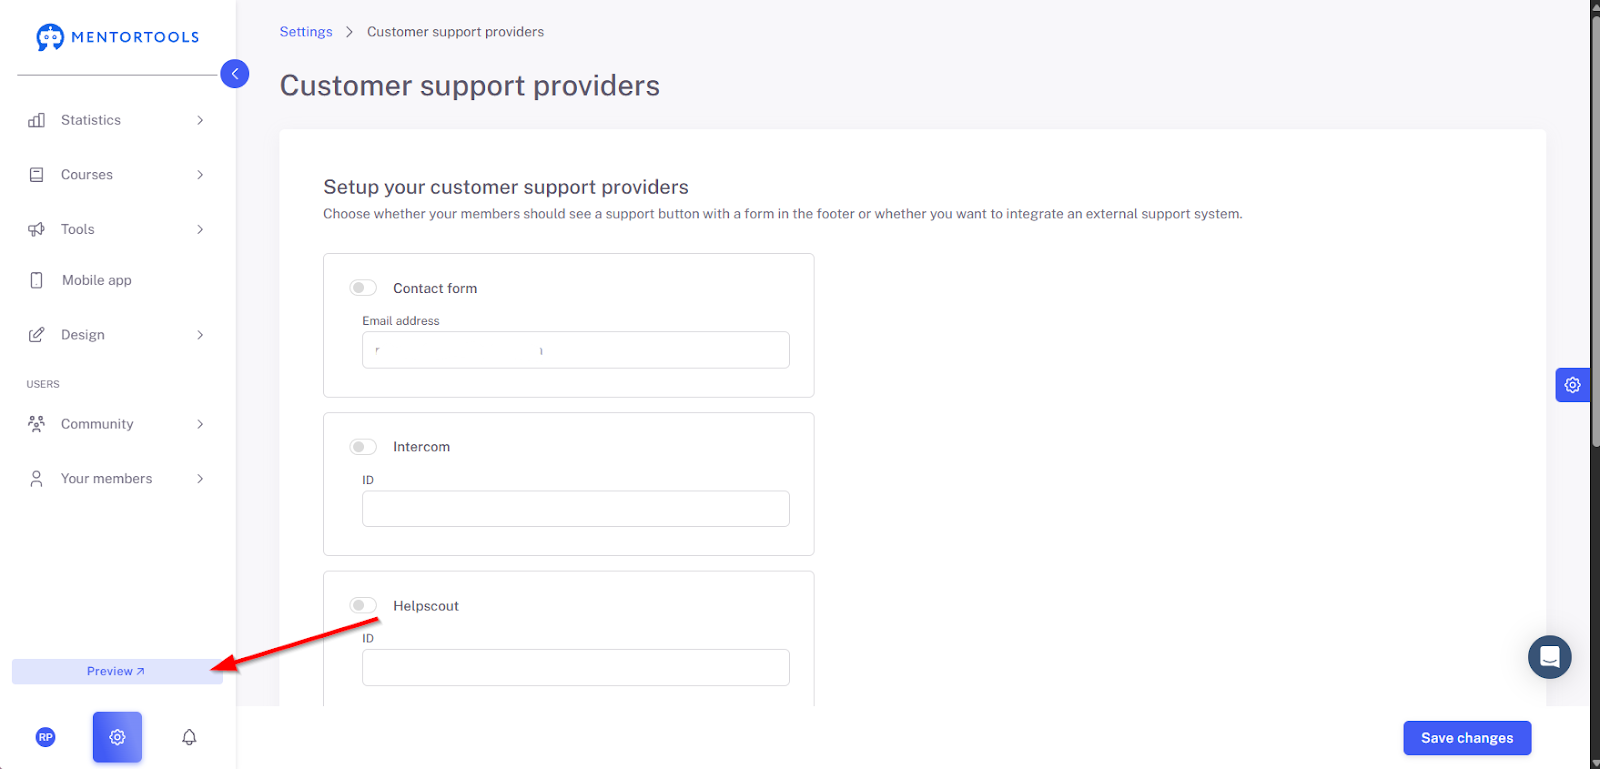
5. Check the Preview
Open the preview view to test the customer support form.
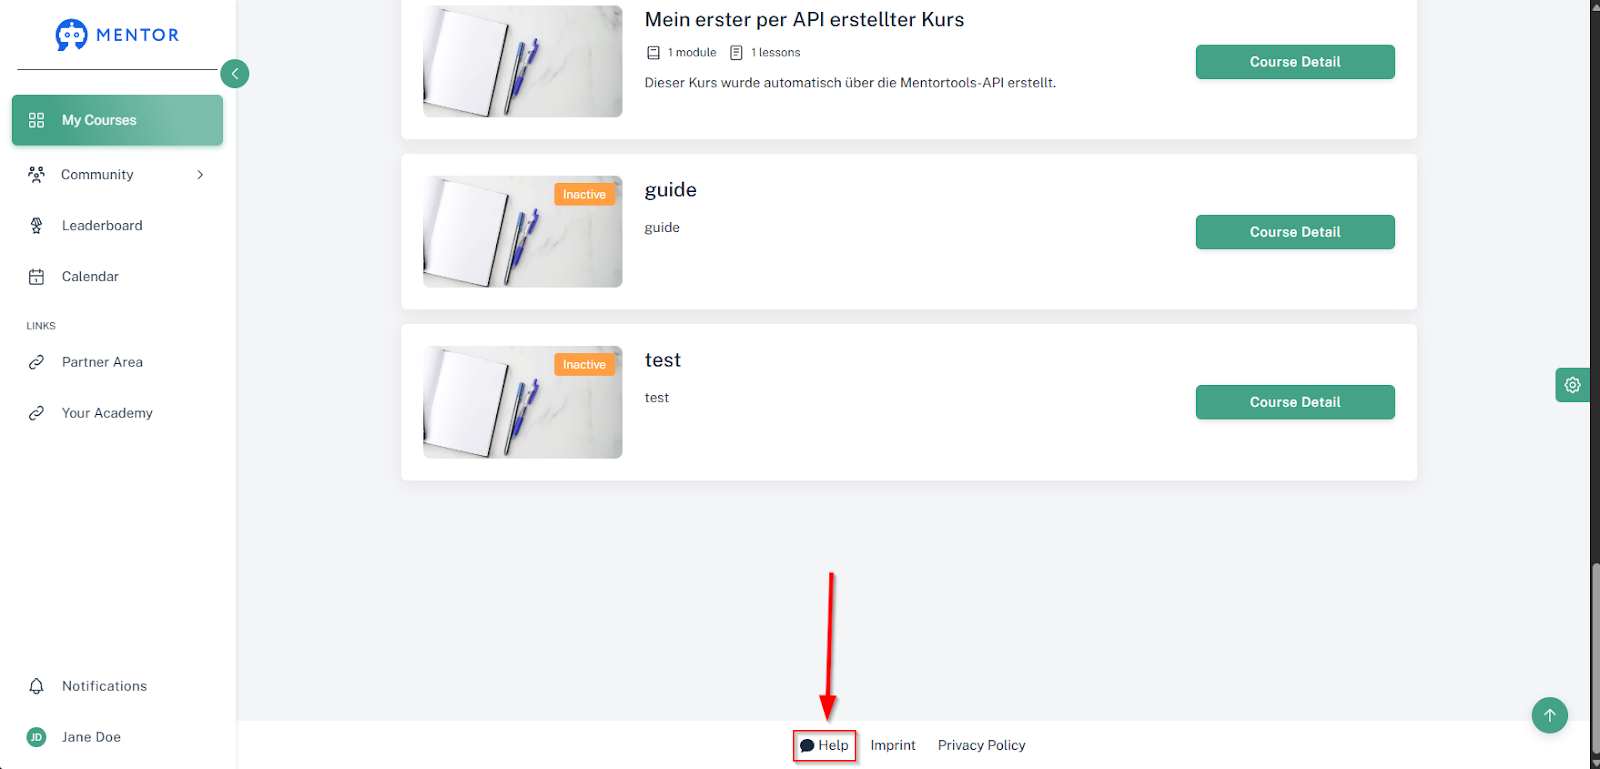
6. Open the Help Function
Click the "Help" button in the bottom right corner to trigger the contact form. If you have many courses, you may need to scroll all the way down first.
7. Write a Message
Enter a test message to check the functionality.

8. Send the Message
Click on "Sent" to send the message.

Summary
In this tutorial, you'll learn how to activate customer support in Mentortools step-by-step. After logging into your member area, navigate to the settings and select the "Support Tools" menu item. There, you can activate the built-in contact form or an external service like Intercom or Freshdesk. Make sure to correctly enter the corresponding email address or widget ID. After you've saved your changes, the next important step is to test the functionality using the preview. Open the help function, send a test message, and make sure that the form is displayed correctly and that your message is sent successfully. With this straightforward integration, you can ensure professional support that noticeably improves the user experience in your academy.