Community – General Settings
Do you want to use the community features in Mentortools? Perfect! In this guide, I'll show you step-by-step how to set up the basic configurations. We'll jointly activate the community, add it to the main menu, and look at how to allow anonymous posts.
Last updated 9 months ago
How to access the Community Page?
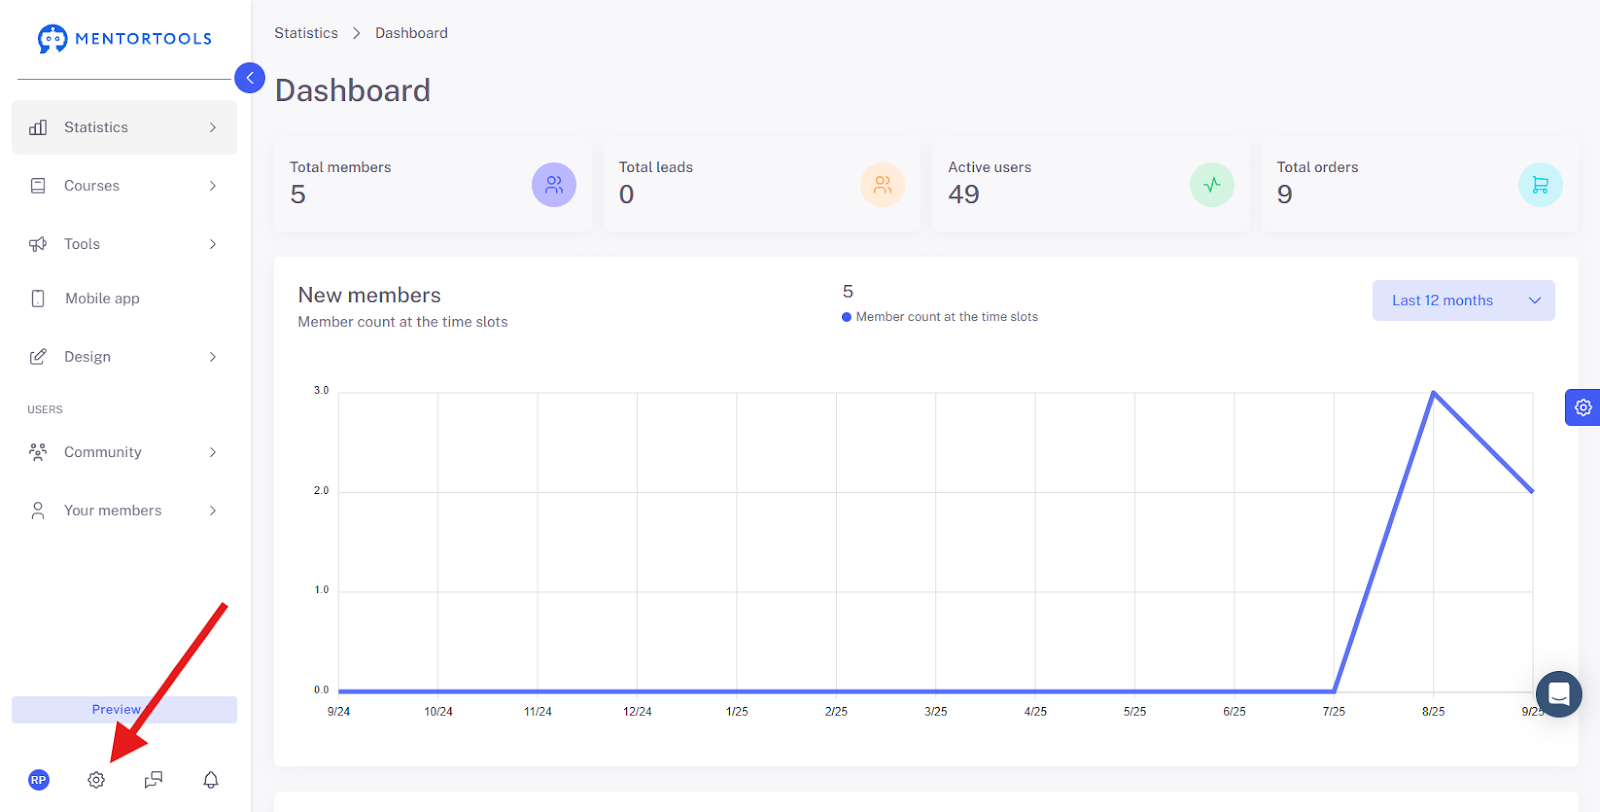
Open the Settings
Click on the gear icon in the bottom left menu bar.
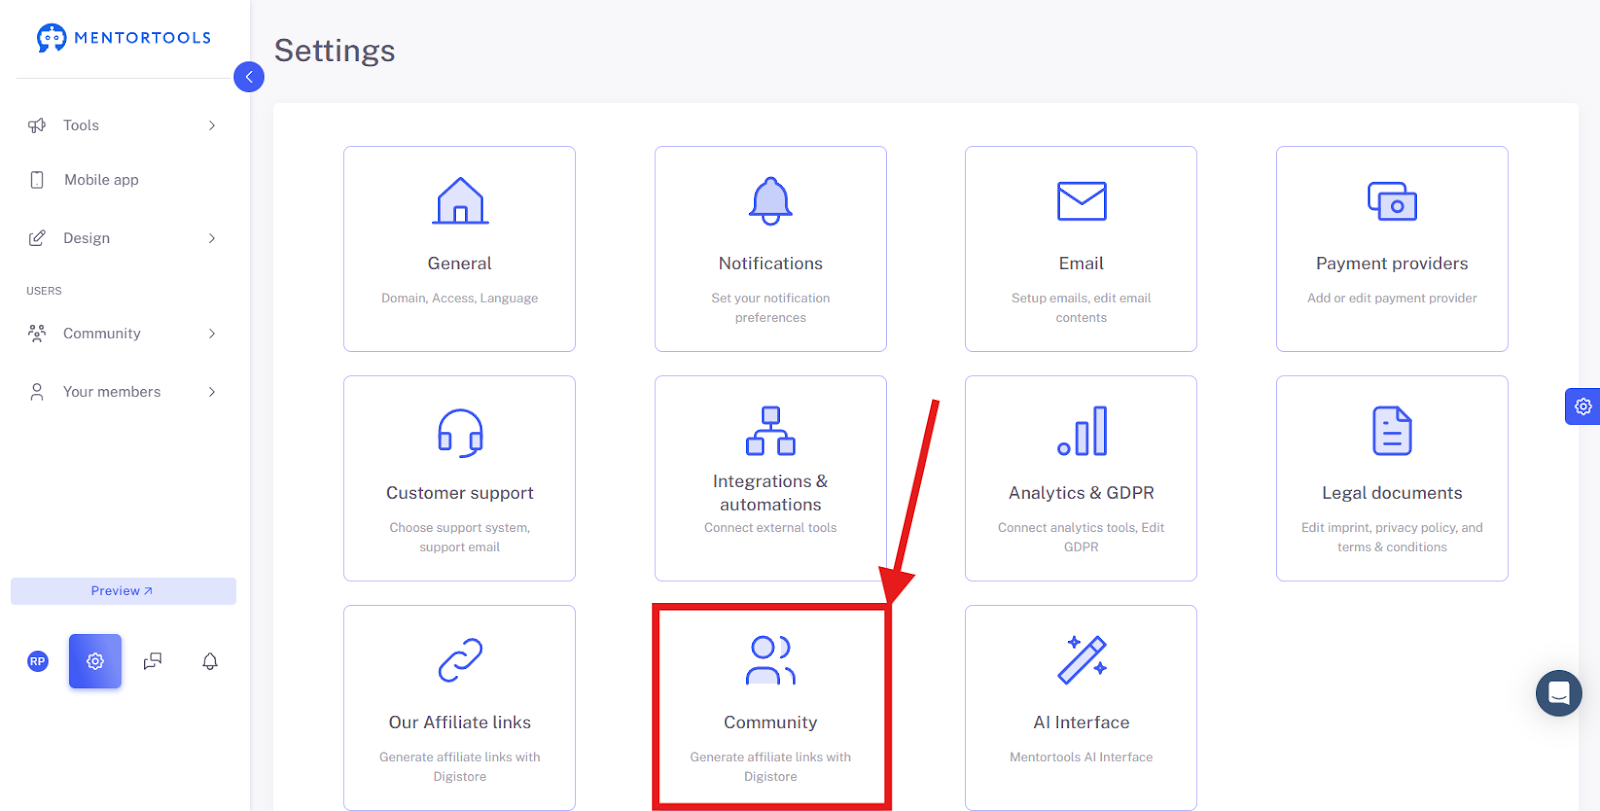
Click on "Community"
Switch to the area for Community Settings.
Select “General Settings”
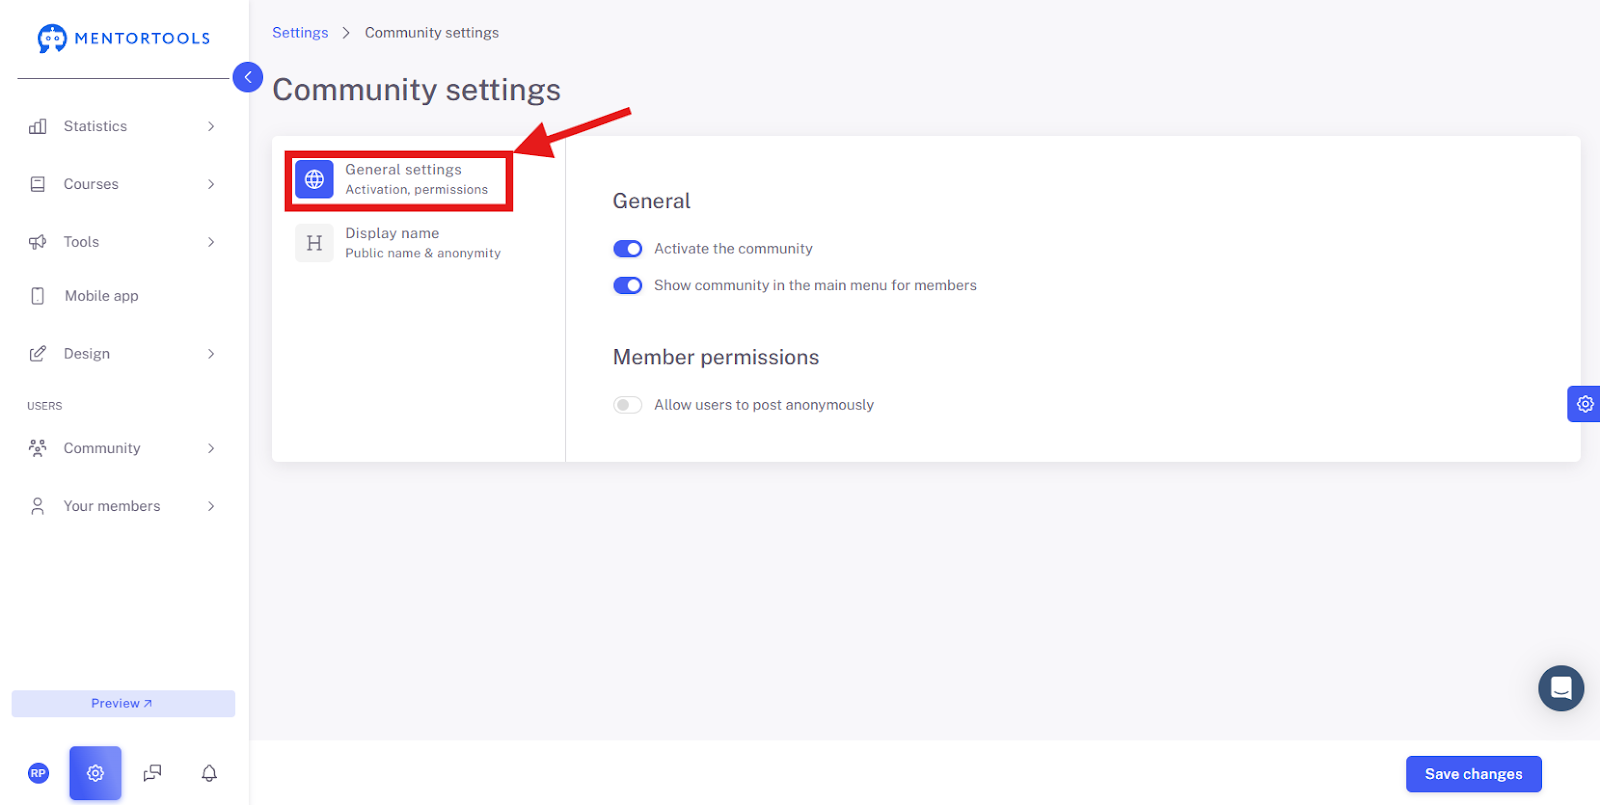
General Settings Overview
In this area, you manage the functions related to your community. Here you define how members can interact with each other.
General Settings:
Activate the Community: This switch allows you to turn the entire community feature on or off on your platform.
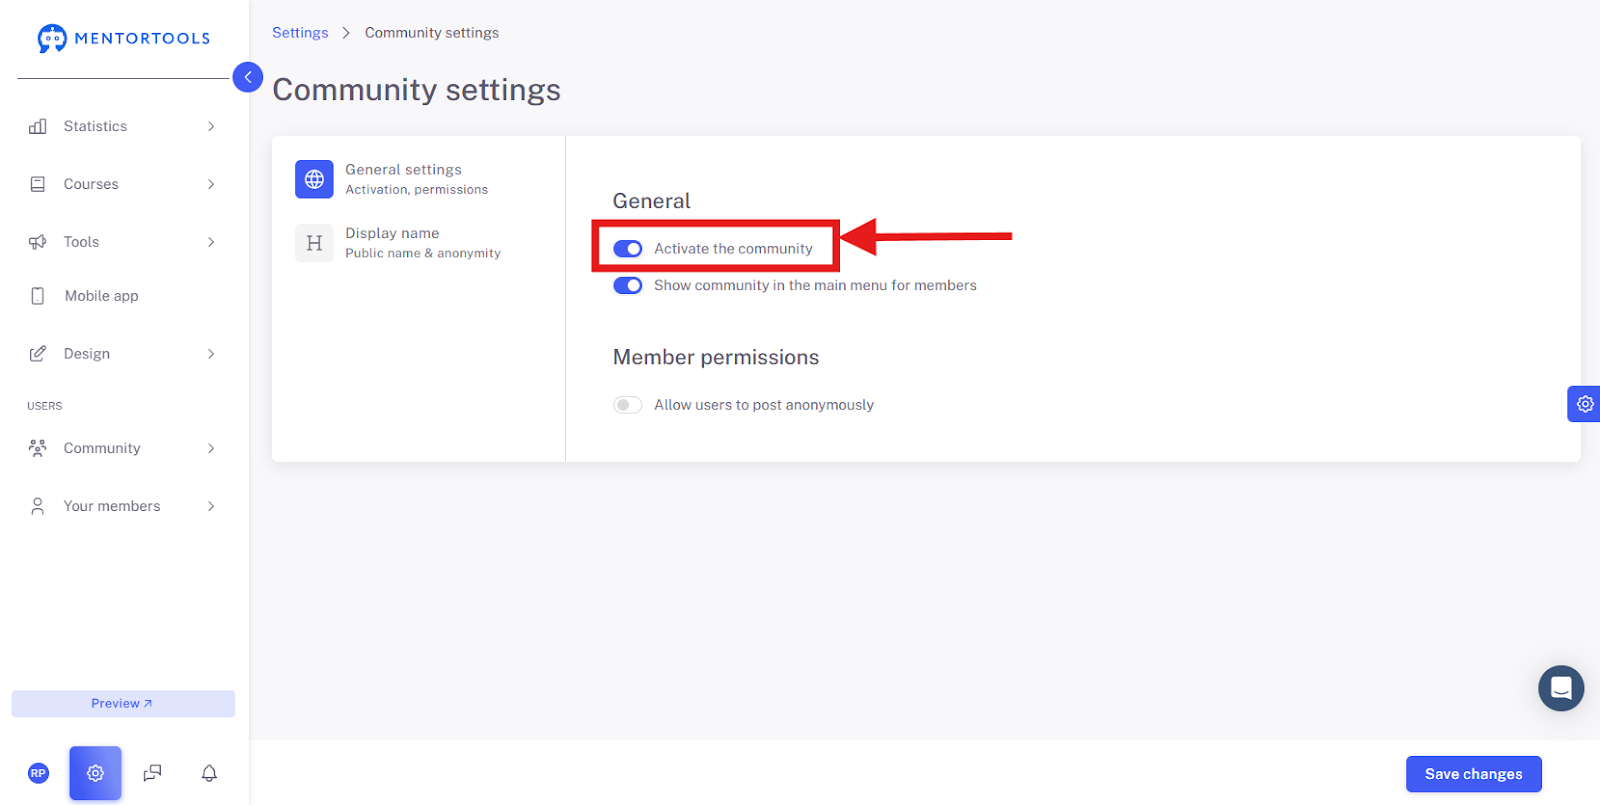
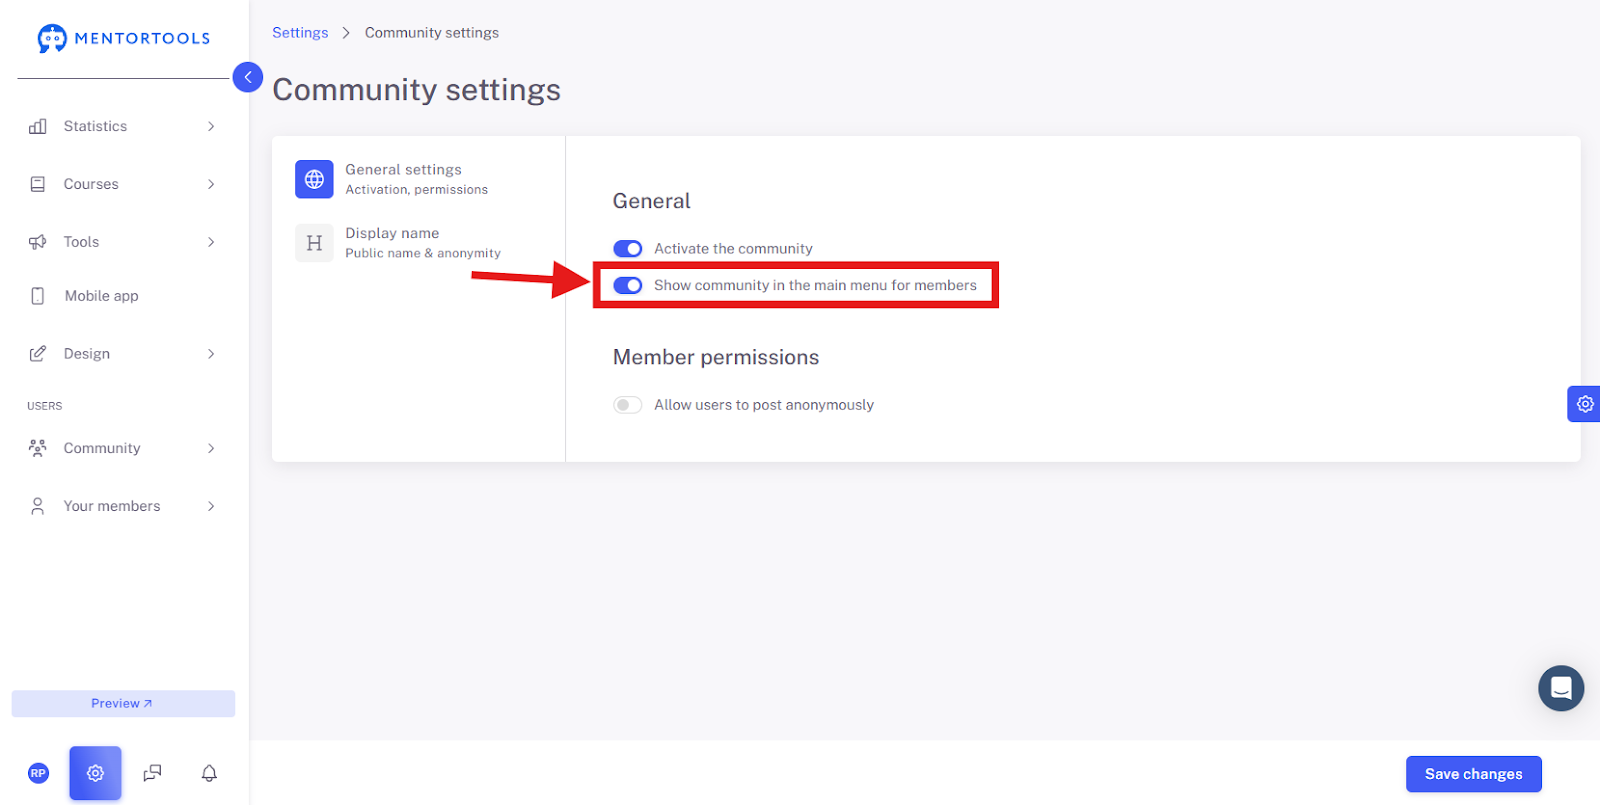
Show Community in the Main Menu for Members: If you activate this option, a direct link to the community will appear in the main menu of your page, making it easy for your members to find.
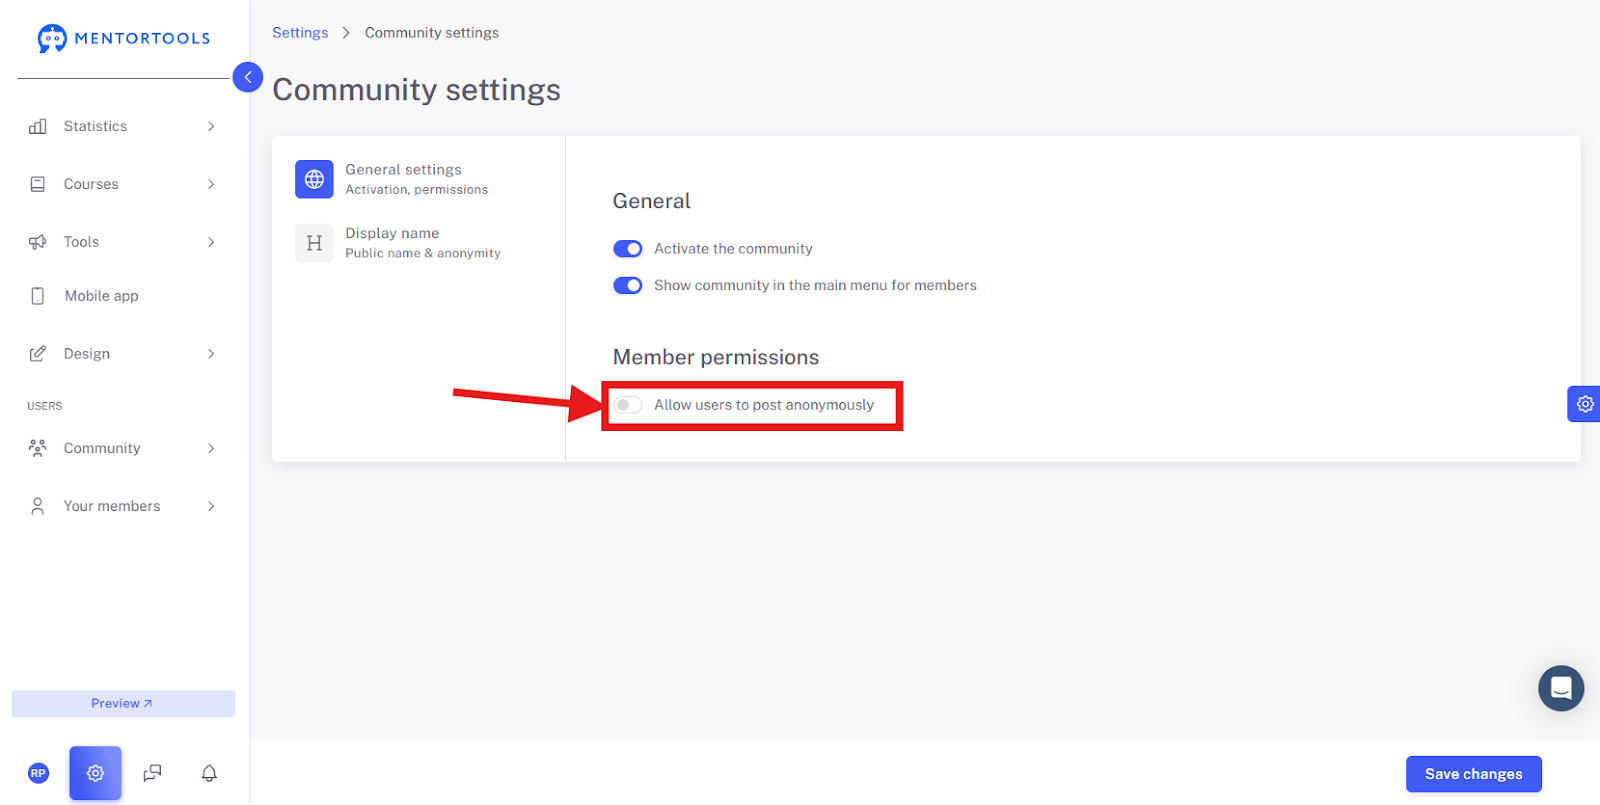
Member Permissions:
Allow users to post anonymously: This switch gives your members the option to write posts in the community without their name being displayed. This can be useful for encouraging honest opinions on sensitive topics.
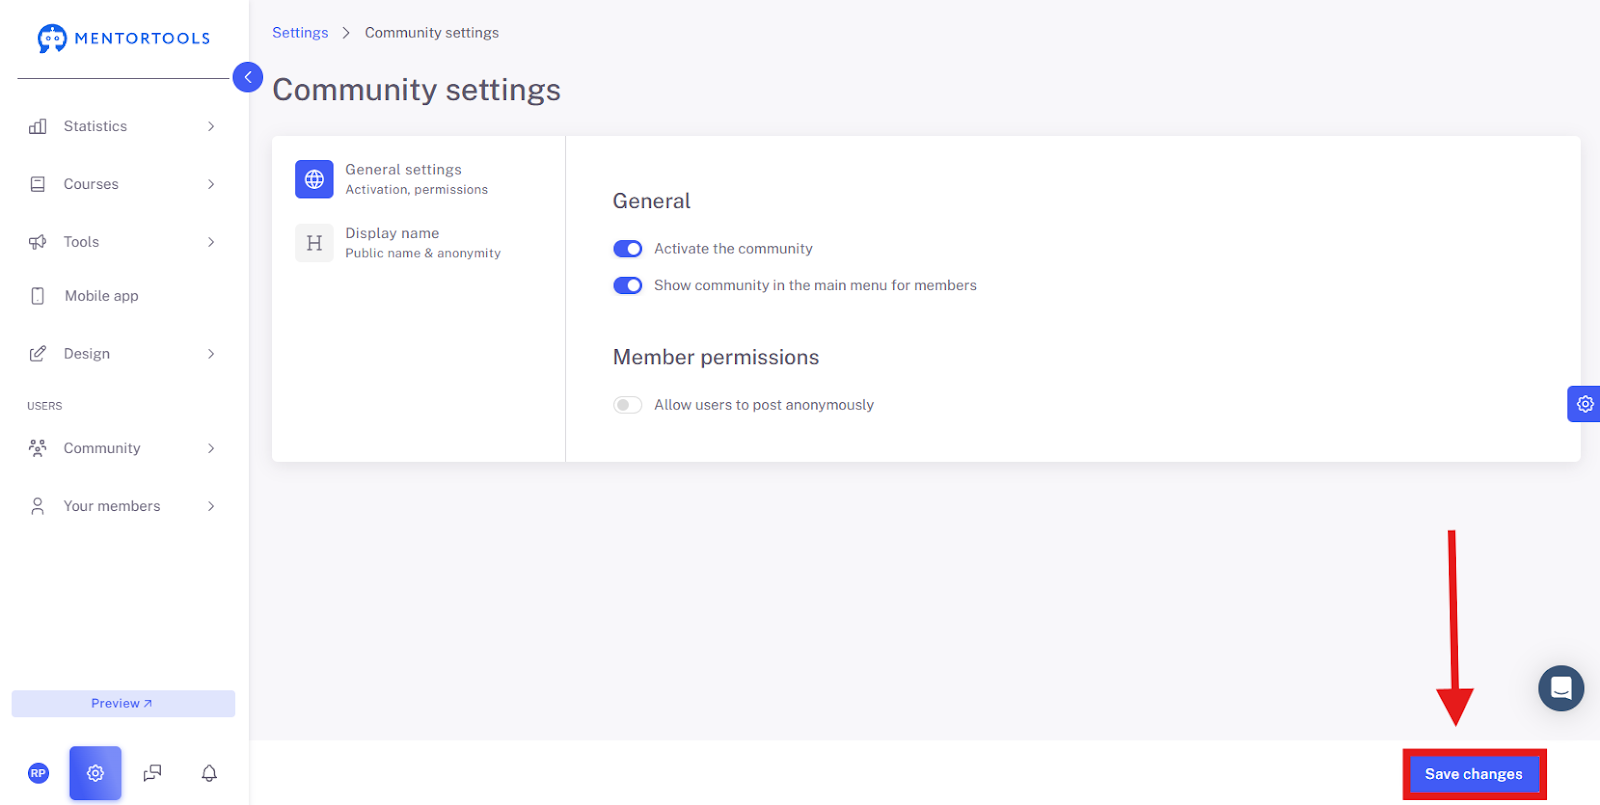
Save Changes
Save all changes so they are applied.
Summary
With this guide, you can set up the Community in Mentortools quickly and easily. You learned how to generally activate the feature, make it visible to members in the main menu of your page, and optionally allow anonymous posts. These settings help you create an interactive and open platform for your members.