Create a new course (from scratch)
With Mentortools, you can create your own online course in just a few minutes—without any technical knowledge. You determine how the course is structured, what content it includes, and who gets access.
Last updated 10 months ago
Whether it's a video course, a coaching program, or a freebie course, the flexible course editor allows you to design your content in a structured and professional way.
How to Create a New Course Step-by-Step
Open the Course Area
Log in to your Mentortools dashboard at https://app.mentortools.com.
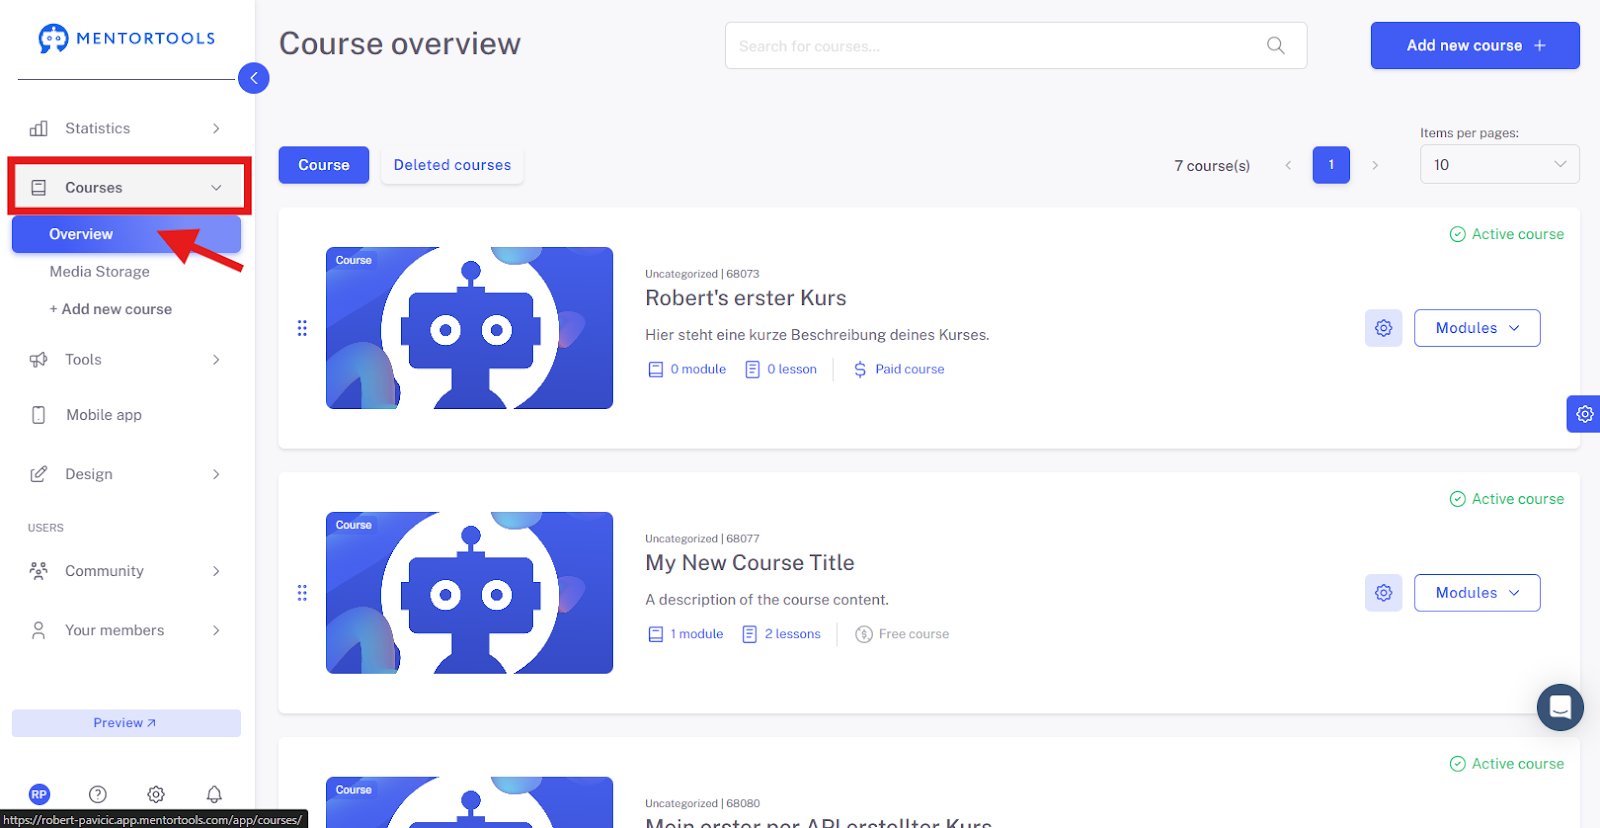
In the main menu, click on "Courses" and then click on "Overview".
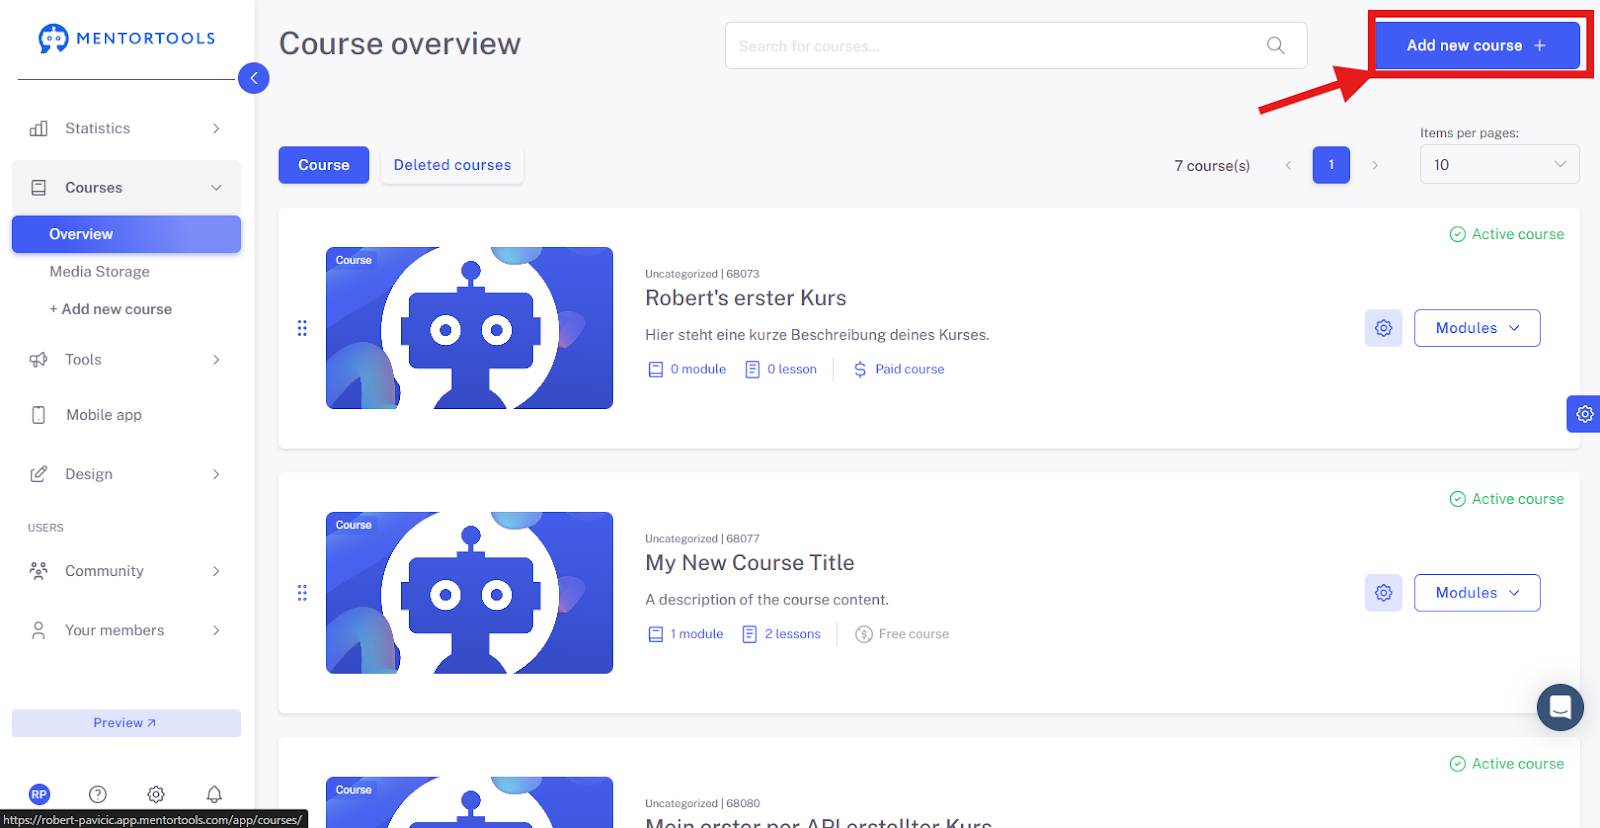
Then, in the top right, click on "Add new Course +".
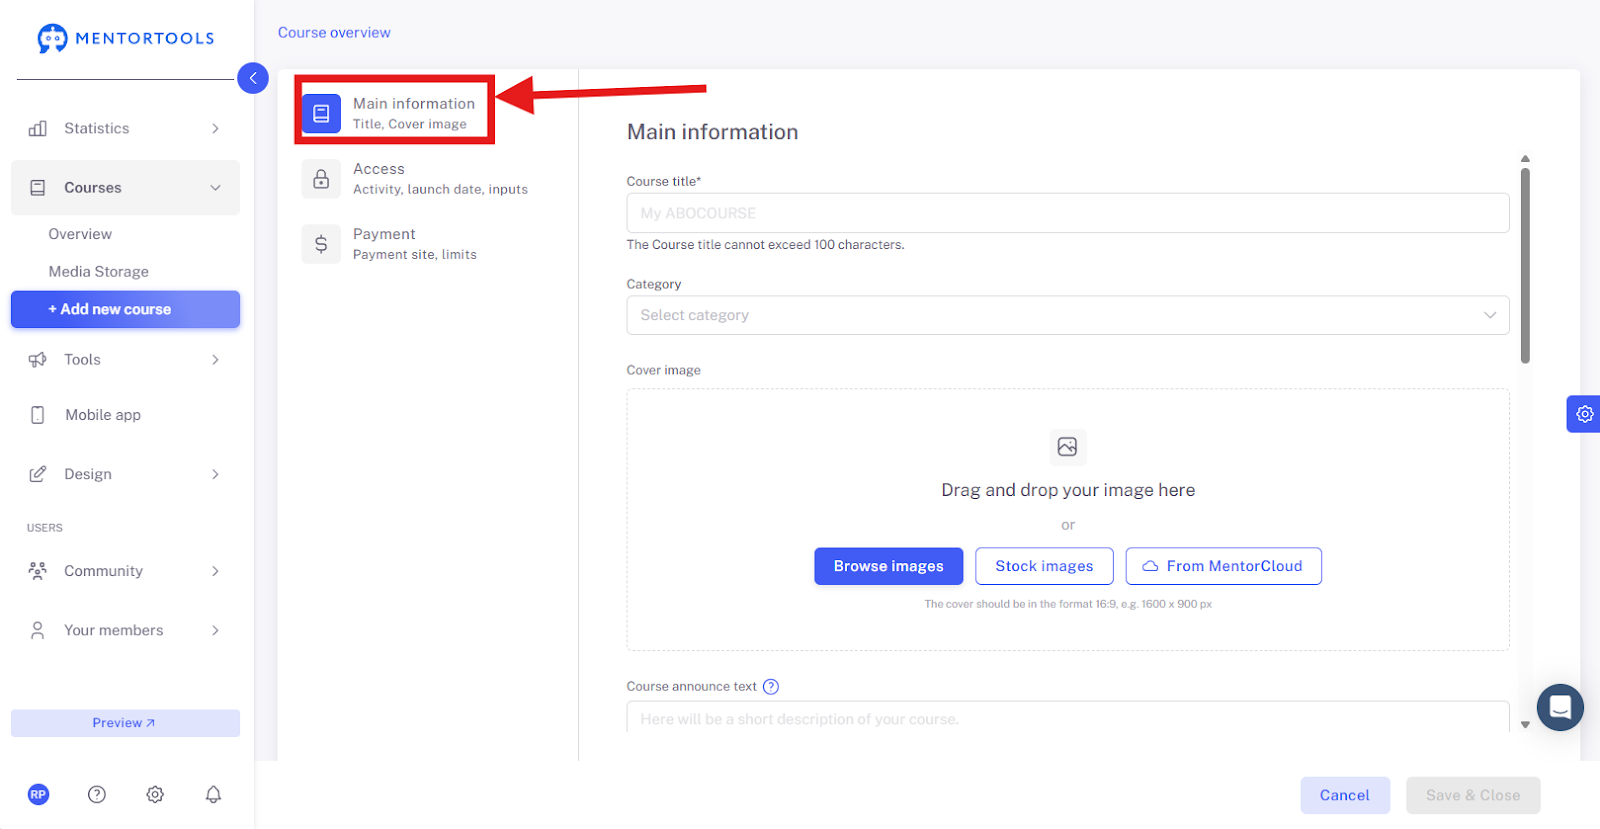
Create General Course Information
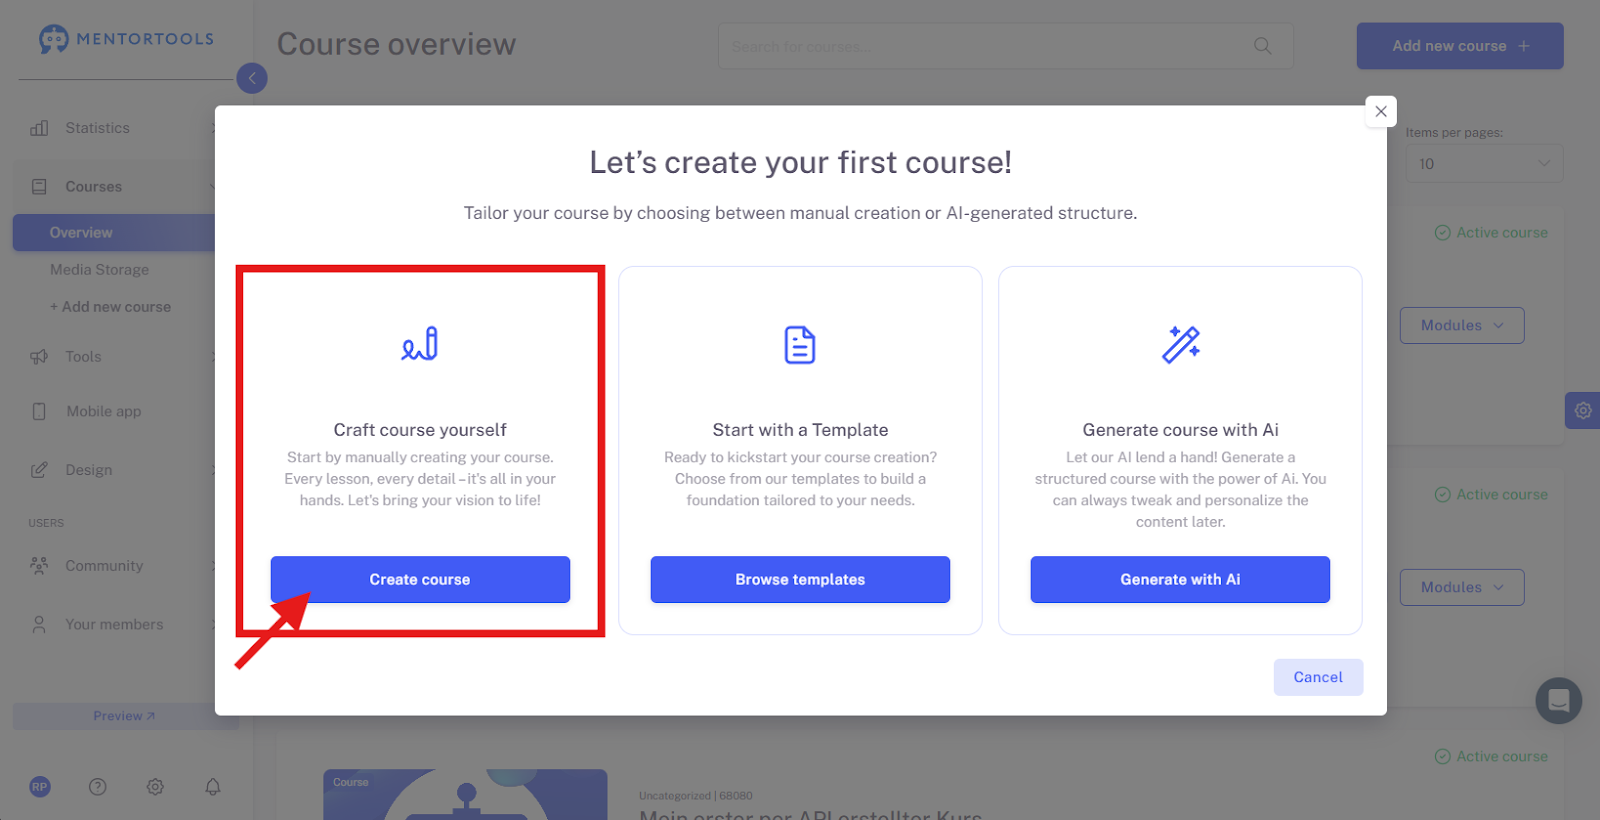
Click on "Create Course".
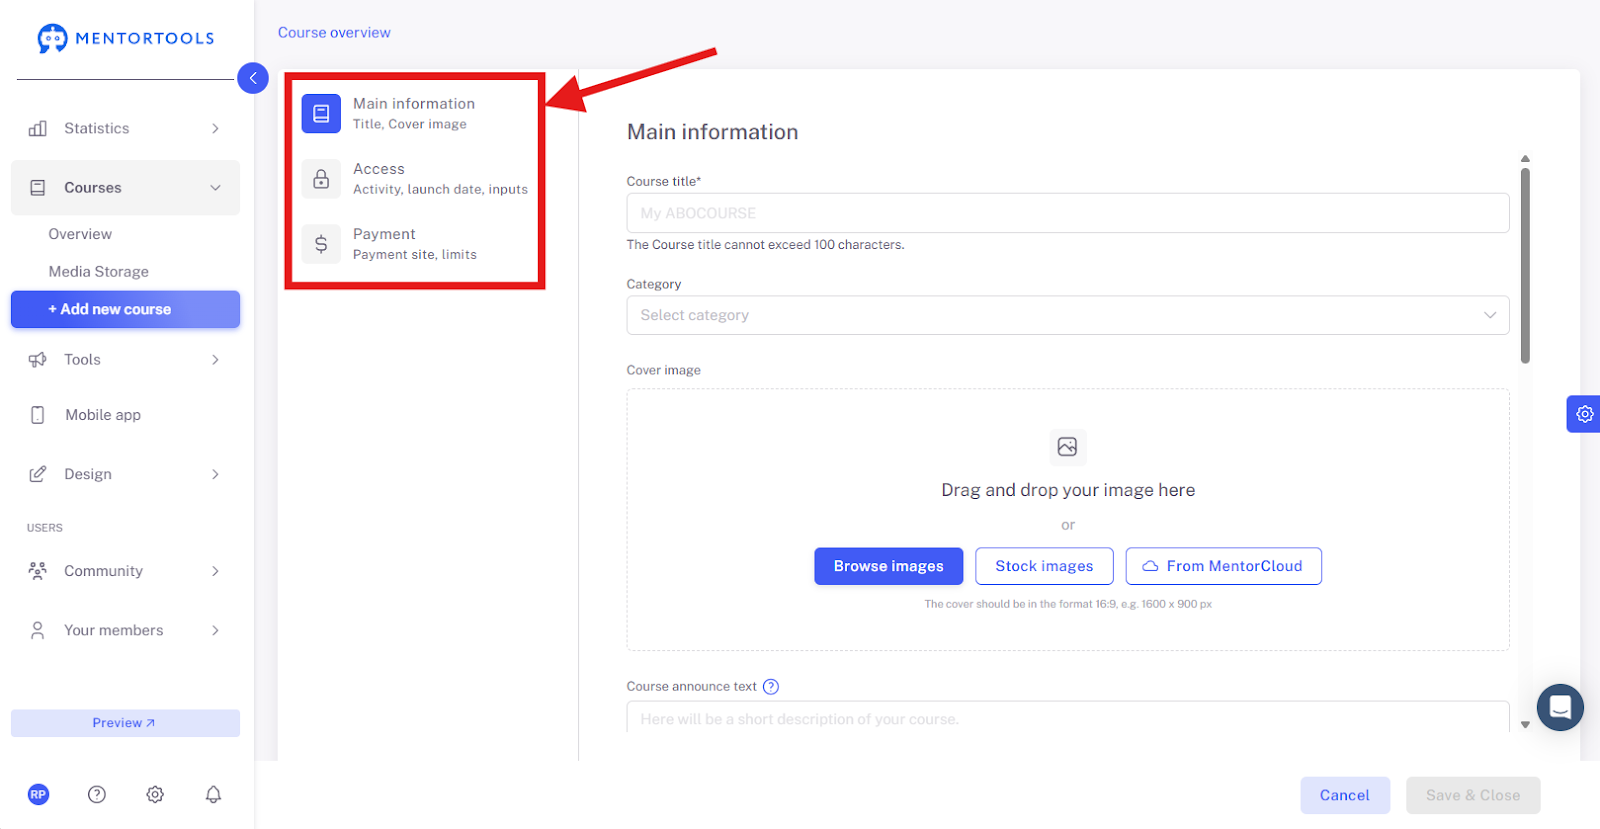
The settings for your new online course will immediately be displayed in 3 categories.
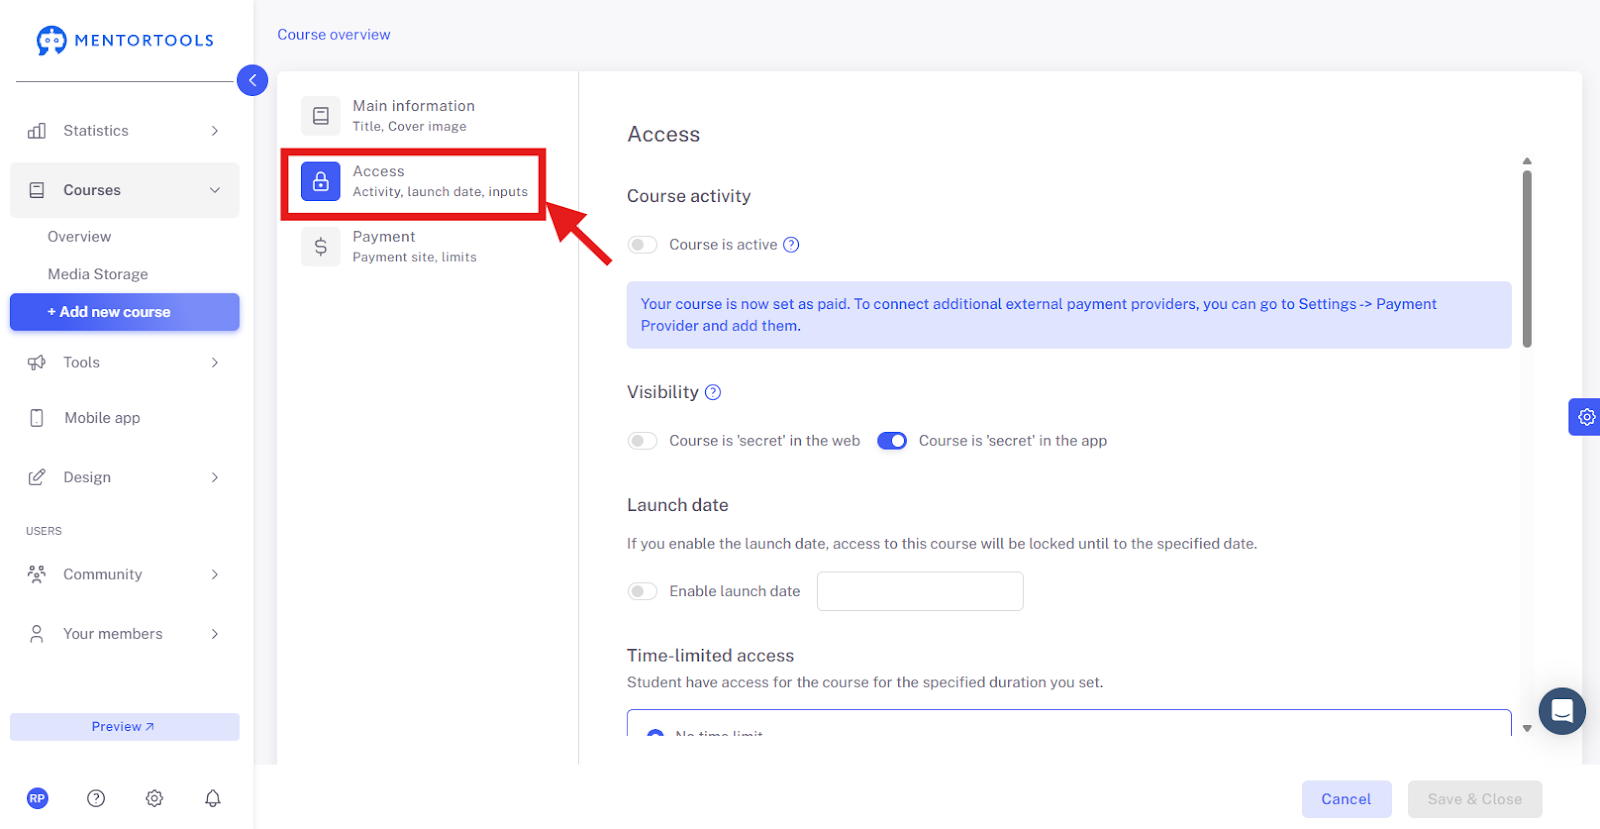
Make Further Settings
Go to the "Access" tab. Here you can set whether your course is:
active / inactive
public / secret
You can also set the start date of the course and/or a time-based access restriction.
Here you will also find direct links to your course (Free direct link to the course (Single Opt-in) & Free direct link to the course (Double Opt-in)).
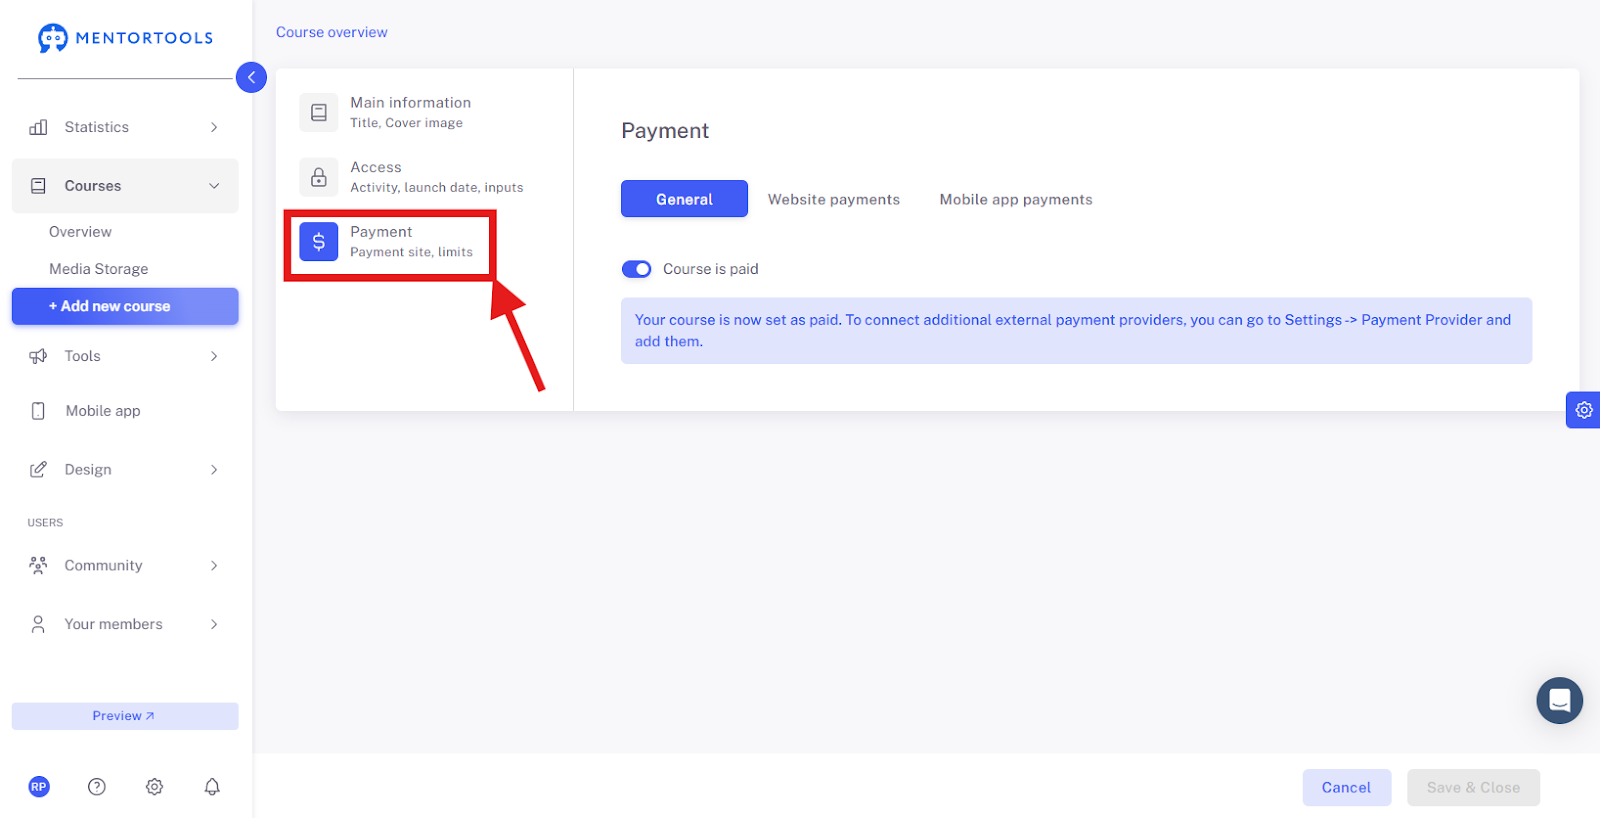
Switch to the "Payments" tab. Here, in the general settings, you can determine whether your course is:
free
or paid
If your course is paid, set up the link to the sales page/order form in the payment settings and connect your course to a payment provider.
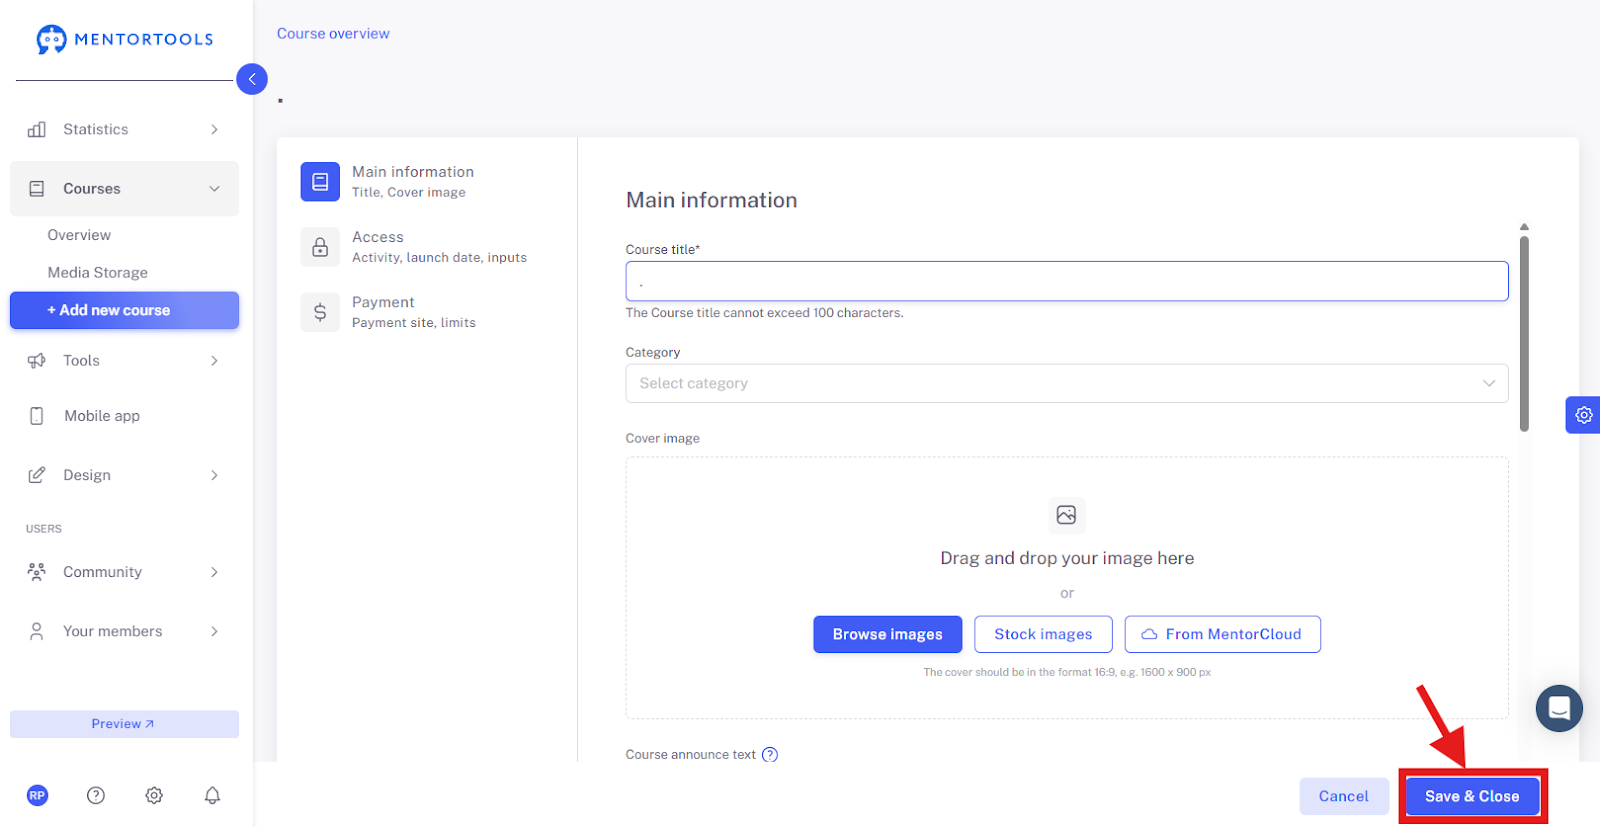
Save Course
When all settings are complete, click on the "Save and Close" button. You can change the course settings at any time.
Summary: What You Need for a New Course
Course title and description
At least one module with one lesson
Content (video, text, PDF, quiz, etc.)
Define the course as paid or free
Optional: image, video, category